How to create admin user in Kubernetes to login to Dashboard
There are cheap Kubernetes clusters out there and nowadays people like to do some tests. In this short article I will show you how to create a simple admin user with complete access easily. I’ll also show you how to enjoy the Kubernetes Dashboard on a DigitalOcean (or any other) cluster.
I would assume that you created your cluster. Within DigitalOcean this is as simple as a click. If you don’t have access to DO already you can use this ref link and get $100 of services for free:
https://m.do.co/c/cc8f1a680e11
Before we start to make things even easier let’s create a simple alias. I called my alias “kube” and it will be referring the –kubeconfig at all times. I’ll be using it throughout this article so adjust your environment to your liking so you can follow along. Here’s my alias:
[kstaykov@manja ~]$ alias kube
alias kube='kubectl --kubeconfig=/home/kstaykov/Downloads/k8s-1-11-1-do-1-lon1-1540329911350-kubeconfig.yaml'
[kstaykov@manja ~]$
Now it’s time to setup your service account. Use this command:
kube create -n kube-system serviceaccount admin
Notice that I created my service account in the kube-system namespace. If you want to know what namespaces you have you can get them using:
kube get namespaces
Now let’s put on a very permissive role binding setting for our cluster.
kube create clusterrolebinding permissive-binding \
  --clusterrole=cluster-admin \
  --user=admin \
  --user=kubelet \
  --group=system:serviceaccounts
Note that this policy will allow for ALL service accounts to act as administrators. Bare it in mind and don’t use this for production service. The concept of this article is to make a simple testing cluster.
Now it’s time to get the configuration of our user.
[kstaykov@manja ~]$ kube -n kube-system get serviceaccount admin -o yaml
apiVersion: v1
kind: ServiceAccount
metadata:
  creationTimestamp: 2018-10-28T08:45:31Z
  name: admin
  namespace: kube-system
  resourceVersion: "463455"
  selfLink: /api/v1/namespaces/kube-system/serviceaccounts/admin
  uid: d3adfa7a-da8d-11e8-aeb9-622f6909f16e
secrets:
- name: admin-token-ndrwp
[kstaykov@manja ~]$
We can see that there is a secret here. Let’s grab it:
[kstaykov@manja ~]$ kube -n kube-system get secret admin-token-ndrwp -o yaml
apiVersion: v1
data:
  ca.crt: <removed>
  token: <removed>
kind: Secret
metadata:
  annotations:
    kubernetes.io/service-account.name: admin
    kubernetes.io/service-account.uid: d3adfa7a-da8d-11e8-aeb9-622f6909f16e
  creationTimestamp: 2018-10-28T08:45:31Z
  name: admin-token-ndrwp
  namespace: kube-system
  resourceVersion: "463454"
  selfLink: /api/v1/namespaces/kube-system/secrets/admin-token-ndrwp
  uid: d3afa9e0-da8d-11e8-aeb9-622f6909f16e
type: kubernetes.io/service-account-token
[kstaykov@manja ~]$
I removed the ca.crt and token data but you should be able to see some big strings there. Notice that the token is base64 encoded. Use a command such as this to decode it:
echo "put-token-here" | base64 --decode
Now you should have a different string and that’s your true token. Keep this private as it has complete access over your cluster! Time to use it to login to the Dashboard. Open a proxy to the cluster:
kube proxy
This will open port 8001 on your machine and using it you can proxy to the API of the cluster. It’s a tunnel of a sort. Go to this URI:
http://localhost:8001/api/v1/namespaces/kube-system/services/https:kubernetes-dashboard:/proxy/
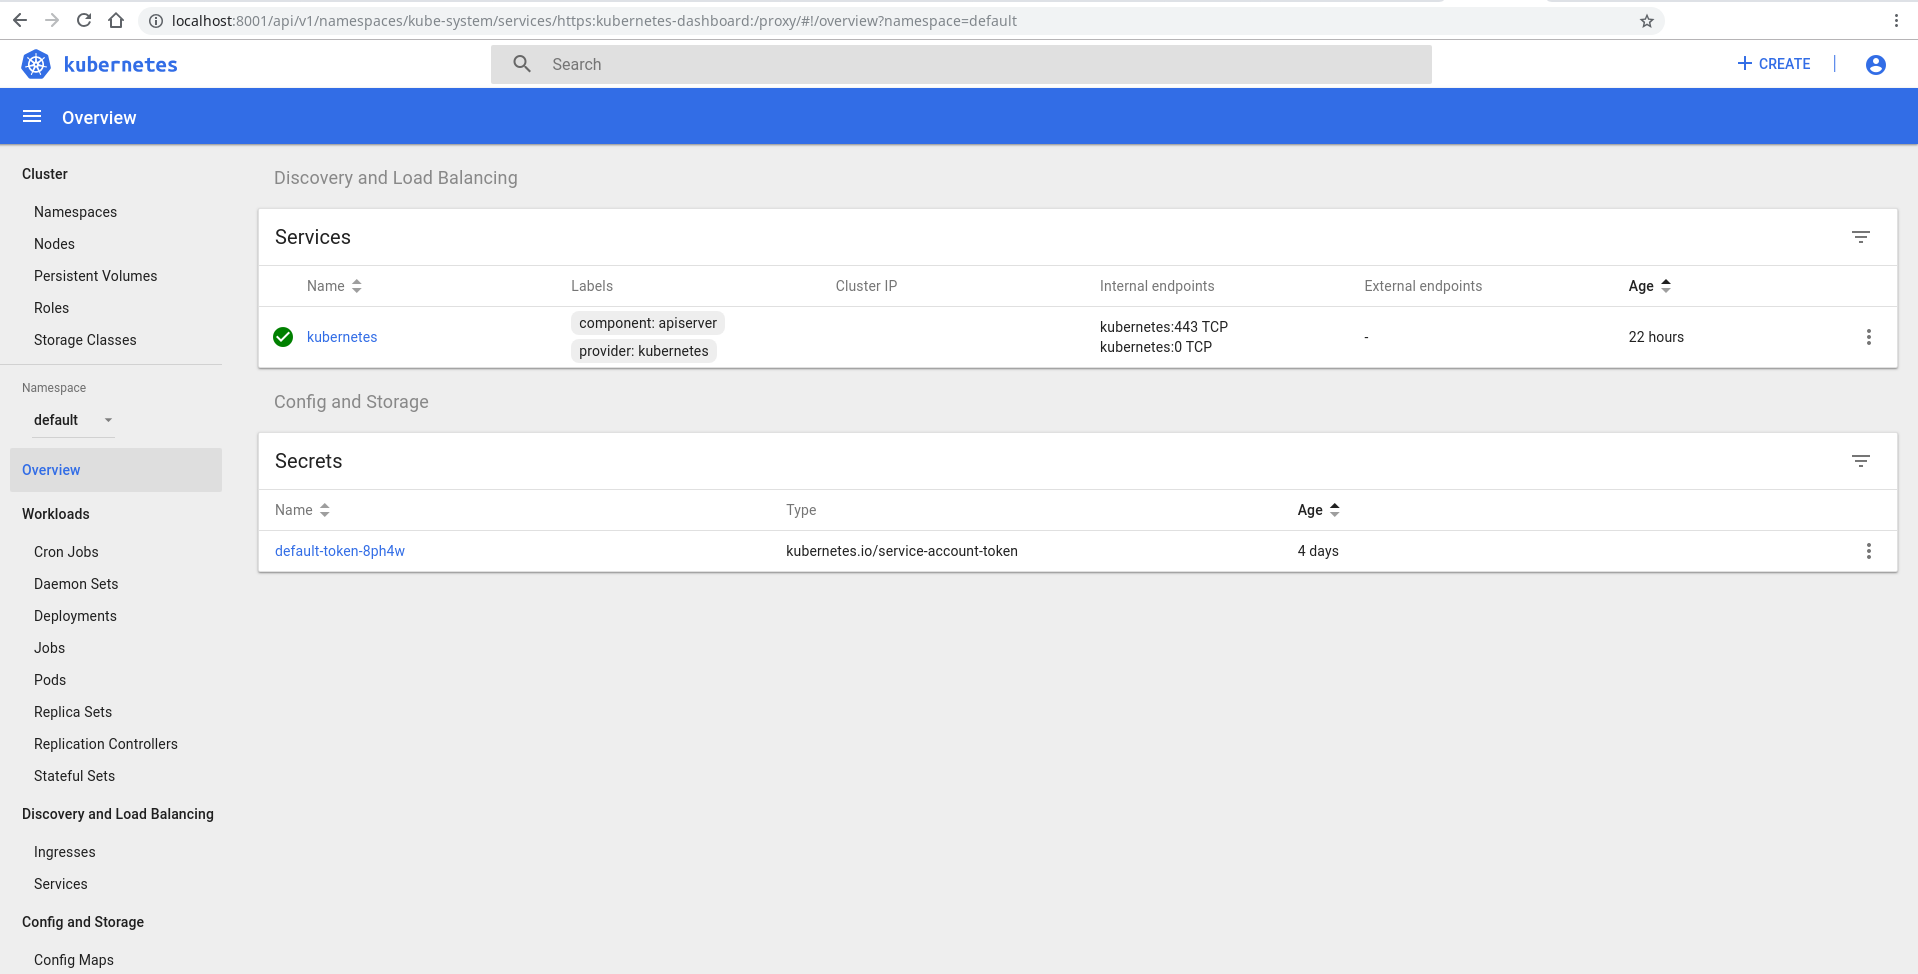
Login using token authentication and use the token you decoded.
There you go! The Kubernetes Dashboard.